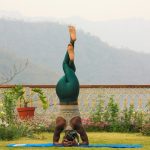
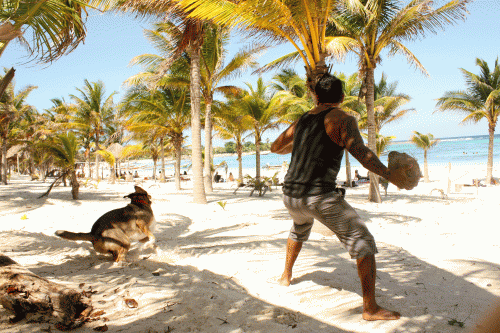
Chef Carlos says it right in his blog, Work Out! No Excuses! All you need to stay fit is a healthy diet, your own body and the world around you! Here we will cover some of the most basic workout movements that do not require equipment, and how they can be adapted to different skill levels. We want to discuss movements that can be taken everywhere: on the road, in your hotel, on an airplane (ok, you might get into trouble if you start doing handstand pushups on an airplane, but the point is they’re travel-friendly). Specific workout routines can be found on the Equipment-Free Work Outs page. Click on any of the thumbnails below to see the full sized image.
Squat
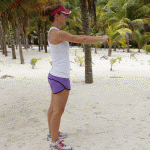
Squat: We will discuss only the air squat or body weight squat because it does not require any equipment and is fully mobile. However, if you have gym access and are doing squats with added weight, please ask a weight coach for help with proper form if you have not already been taught. Air Squat: Start in a standing position with your feet shoulder width apart. Shoot your butt out behind you as if you are sitting down in a chair. Putting your arms out in front of you helps with balance. Push your knees out as you squat down (their natural tendency will be to buckle inwards). Your knees should not move too much in front of your feet. Try your best to keep your shins vertical.
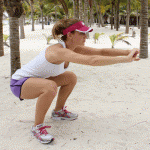
You will have to lean forward a bit to maintain your balance, but again, keep your torso as vertical as possible to get the most out of this movement. At the bottom of the squat, your thighs and shins should make a 90 degree angle, if not less. Having your butt lower than your knees is even better.
Plank Position:
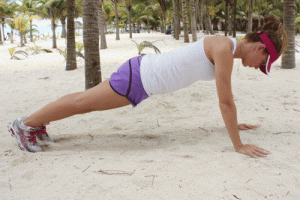 Plank Position: To get in to plank position, start lying on your stomach on the ground, and use your arms to push yourself up. Keep your body straight as a board, flex your butt muscles, flex your abs, and make sure your hiney isn’t sticking in the air. The goal is for your body to be completely straight. Your hands should be just over shoulder width apart. Plank holds (staying in this plank position for a set amount of time) are great ways to build core strength and help your push-up technique.

Push-Ups: Start in a plank position, making sure your butt is not in the air. Bend your arms, keeping your elbows in, until your chest touches the floor. Squeeze your butt muscles and abs all the way down. At the bottom of the push up you should be able to lift your hands off the ground and not fall. Keeping your body tight and straight, raise yourself back up and lock your elbows at the top to return to the plank position.
To scale this movement down, do knee push-ups, or standing push-ups (against a wall or tree).
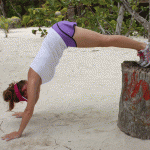
To scale this movement up, add a weighted object to your back, or do at a downward incline with your feet on a raised object. You will notice in the picture to the right that Victoria’s body is not “flat as a board,” as recommended in traditional push-ups. By bending at the waist with your feet on a raised object, you add difficulty. Diamond push-ups are also a great variation that work your chest and shoulder muscles more-so than a traditional push-up.
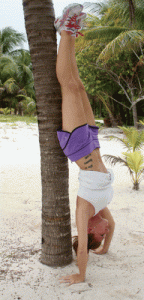
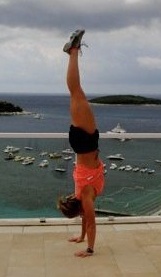 Once you can do multiple push-ups with your torso upside down as pictured, you can move on to handstand push-ups, which are an even more difficult variation. You can approach these a number of ways.
1) Get into plank position with your feet against a wall. Walk your feet up the wall and hands in toward the wall until you are in a handstand (with your chest facing the wall).
2) Start in a standing position, and flip into a handstand so your back is facing the wall, with your feet leaning on the wall for support (demonstrated to the left).

